Three Rules for Photographing Runners (and How to Light Them on a Treadmill)
Stride, hands and head: the three things that make a running photo work, plus how I timed and lit lululemon ambassador Jeff Douse at RacePace.
Looking back over 2017, I realized I shot a lot of running. It wasn't planned, but it was the year I finally started to (pun intended) hit my stride with running images. I'd made photos I was happy with before, but only after a lot of trial and error, missed opportunities and patience from my runners. I never quite knew what I wanted to capture, until I landed on three simple rules that made my approach far more consistent.
The three rules
Most strong running images (not all, because every rule has an exception) have three things in common:
- Stride: a closed stride at or near its longest point.
- Hand position: relaxed, consistent hands.
- Head position: eyes up, with the mouth slightly open or relaxed.
Once I understood those points and could explain them to my runners, I could stop worrying about the basics and focus on making better, more dynamic images.
The RacePace shoot
Those rules are exactly what freed me up to focus on how great Jeff Douse's space was when we arrived at RacePace, his running studio in The Heights. Think of a CycleBar or SoulCycle class, but on treadmills with an instructor. The cloud lights and mirror lights added a lot, and when I found out we could shift the color of the lights, I knew exactly what I wanted to create.
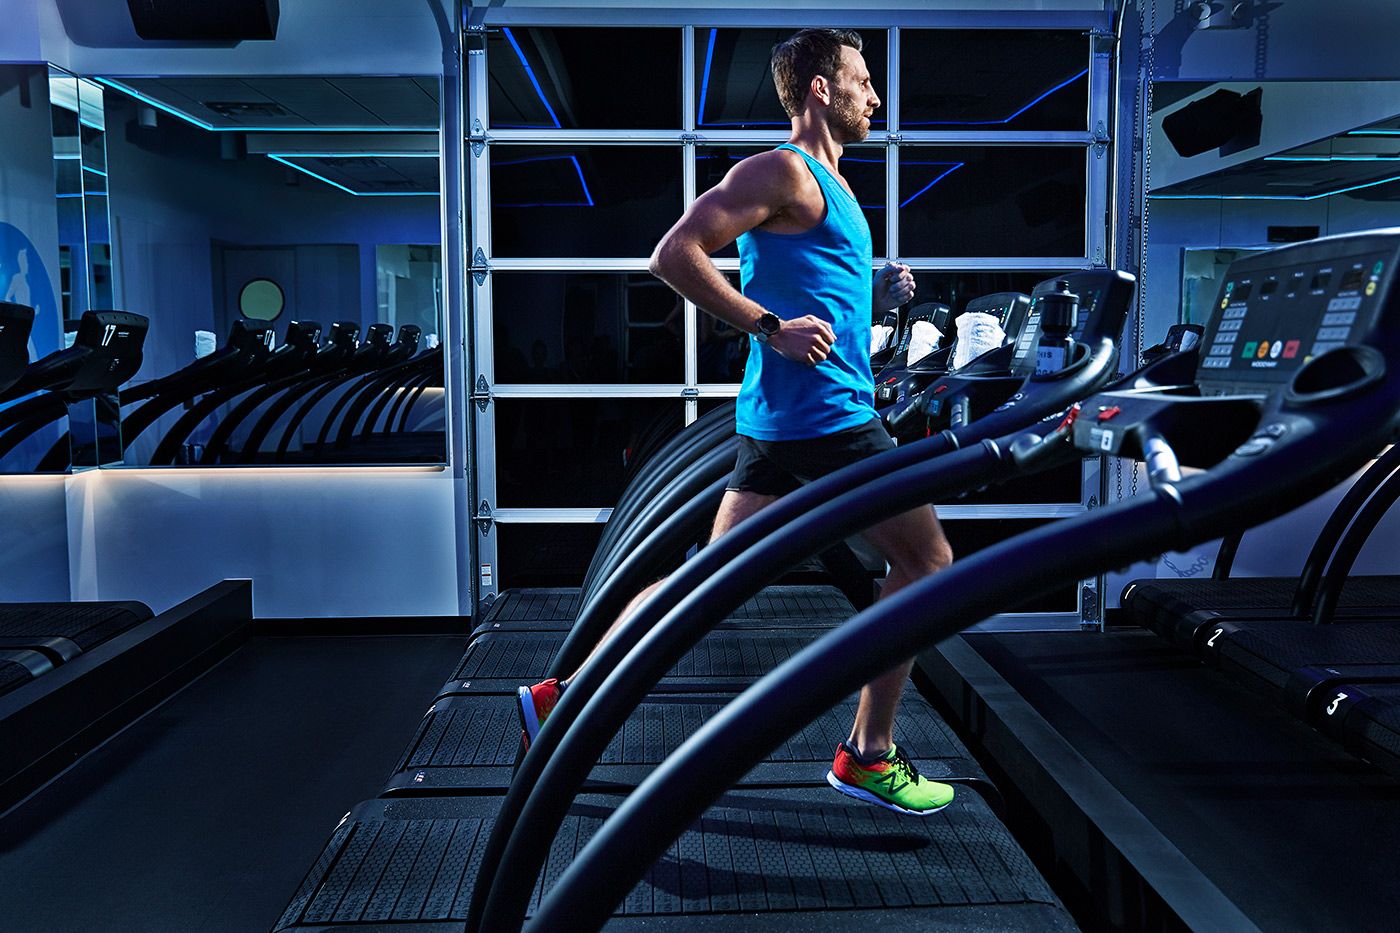
The goal was to use the studio's own lights to motivate how I lit Jeff on the treadmill. The space is built almost like a dance club, so I wanted punch, but not so much that I lost the feel of the room or overwhelmed Jeff with light. So I cross-lit him and told him to start running.
We nailed the shot in the first three frames. (No joke: that's the moment in the video where everybody ran over.) We had the shot within ten minutes of a two-hour session, which was an awesome feeling. After that, it was about trying everything I could think of. I didn't like most of it, so we kept playing with lighting schemes and outfits, and at the end we brought Jeff's wife and business partner into a couple of shots.
Timing a lit runner
The rules still apply once you add lights, but lights limit how many frames you can capture per stride. When a runner passes you, as is typical, you may get only one or two frames a pass if you're lucky. On the treadmill, Jeff stayed in one place, so I could shoot many more frames.
The limit is your lights' recycle time. With top-end studio packs you might be able to fire long bursts. For the rest of us, it's all about timing. You're still aiming for the body position you see in Jeff's photos, where the lines through the torso, arms and legs are ideal. That means the foot closest to you should be at the front of the stride, either right before or right as it hits the ground.
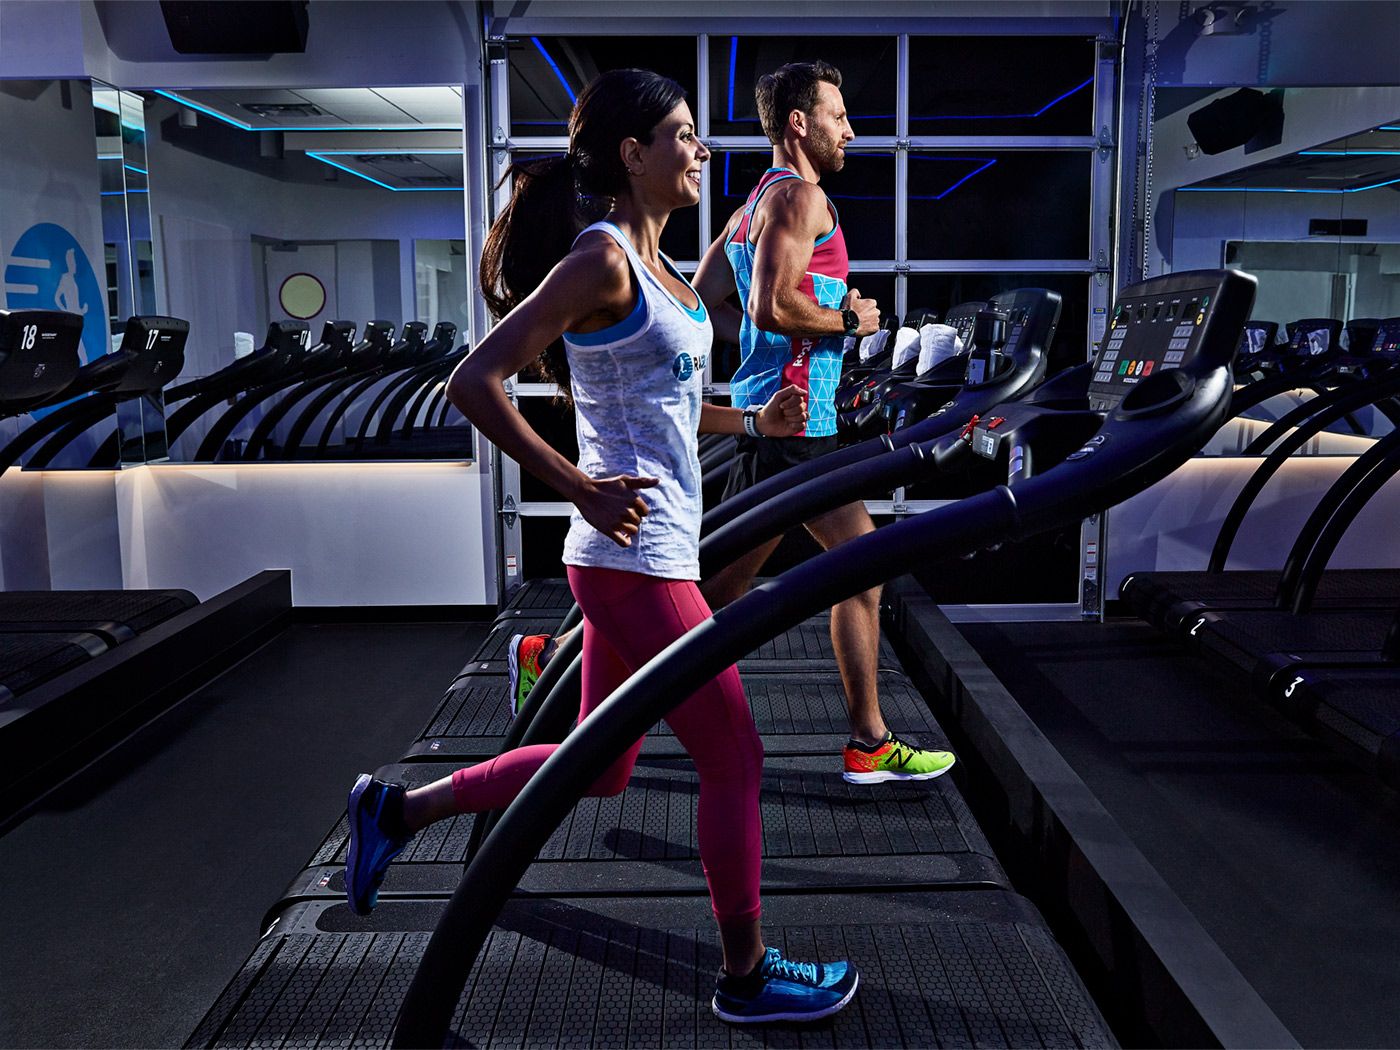
To time it, I watch nothing but that foot. I line everything else up beforehand, pick a spot in the frame and wait for the runner's toe to reach it. From there, it's reaction time and practice.
Motivated light
Now the fun part: lighting. I might not use this same setup outdoors; it depends. I want my lights to be as "motivated" by the existing light sources as possible. A motivated light makes sense to the eye based on what we see in the rest of the image: the sun outdoors, or a lamp or overhead lights indoors. Those are the first things I look for when I walk into a space for an environmental portrait.
Something I didn't understand early on, and that catches my eye more than anything now, is "UFO lighting": light that makes no sense and seems to come from nowhere, like a UFO about to beam the subject up.
How I lit Jeff
In Jeff's studio, wild light came from above and bounced off the mirrors. I used that to create contrasty light that fit the room and blended into the image. I left the modifiers off my Profoto B2s except for an OCF Beauty Dish on the main light, which kept Jeff's face evenly lit and appealing. The back light was a bare bulb to show off his body lines and add interest to his musculature as he ran.
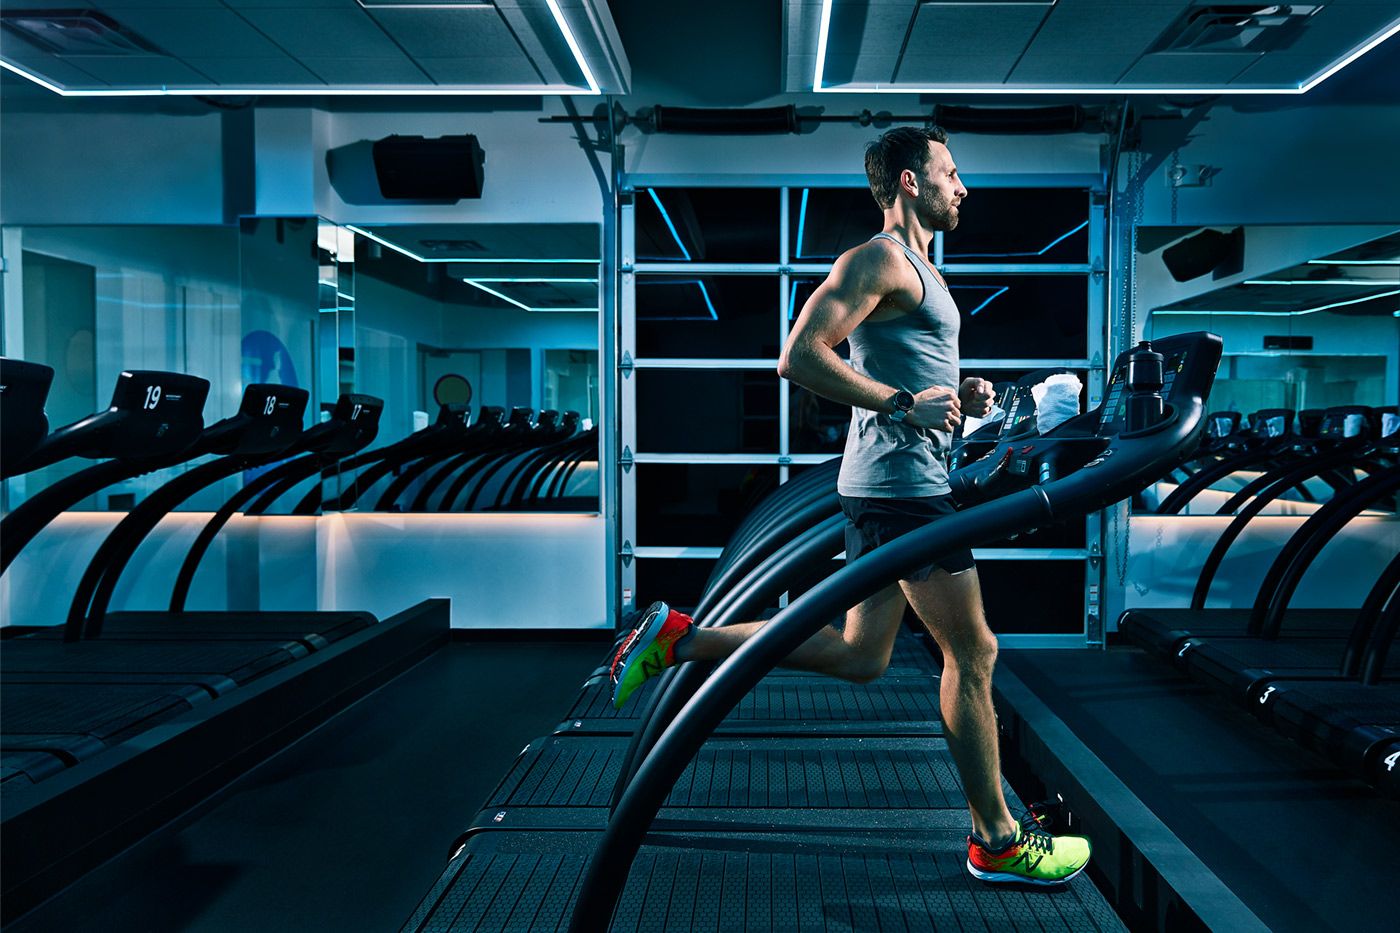
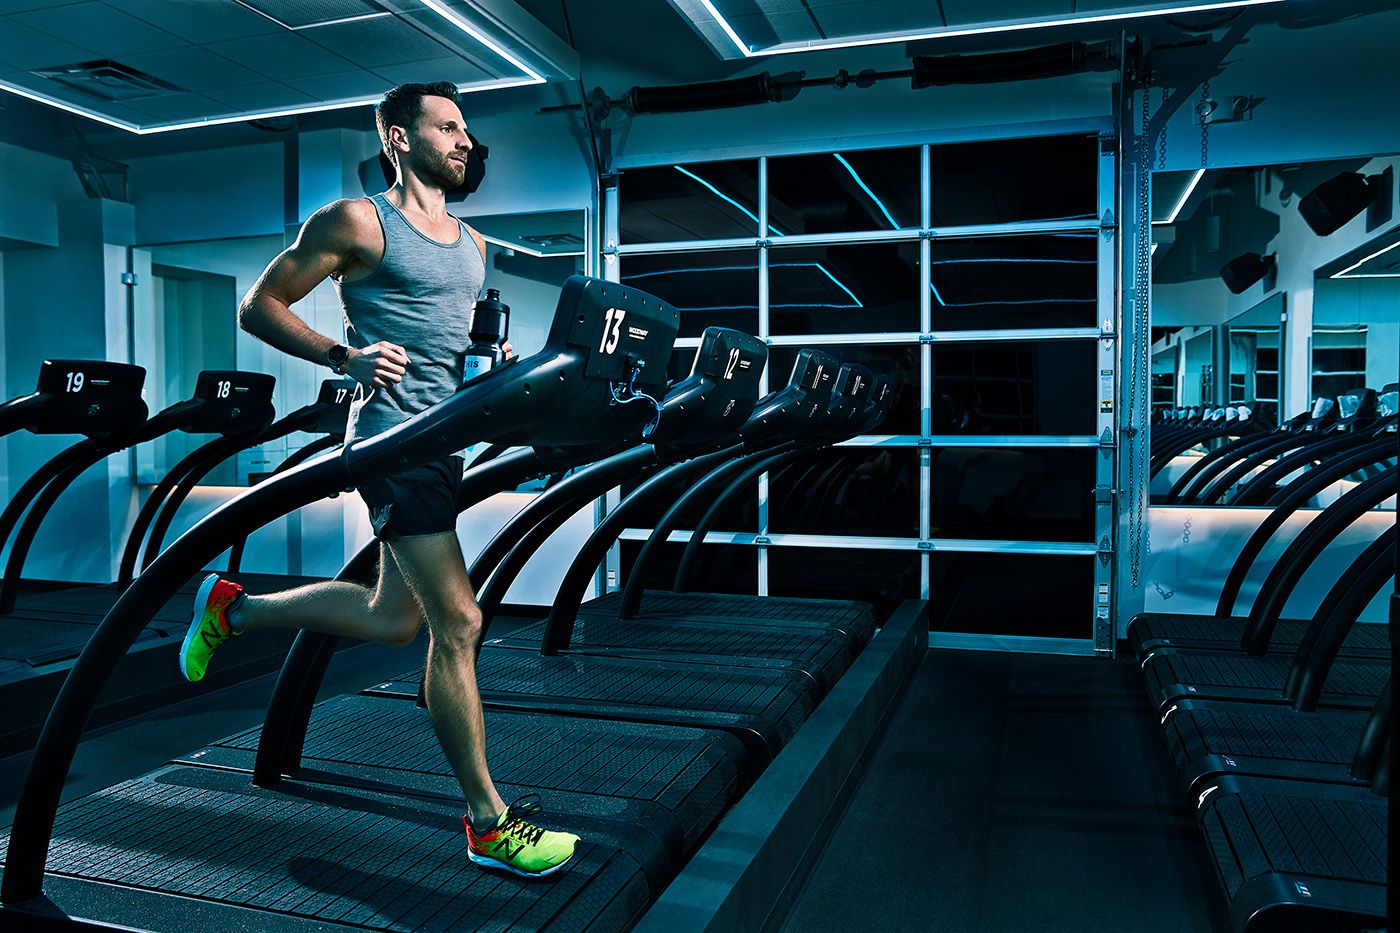
The power on each light was about even. I hid the lights from the mirrors as much as I could to stay out of Photoshop, and the rest was adjusting color in post and removing distracting objects from the mirrors and background.
A Heroes on White portrait to finish
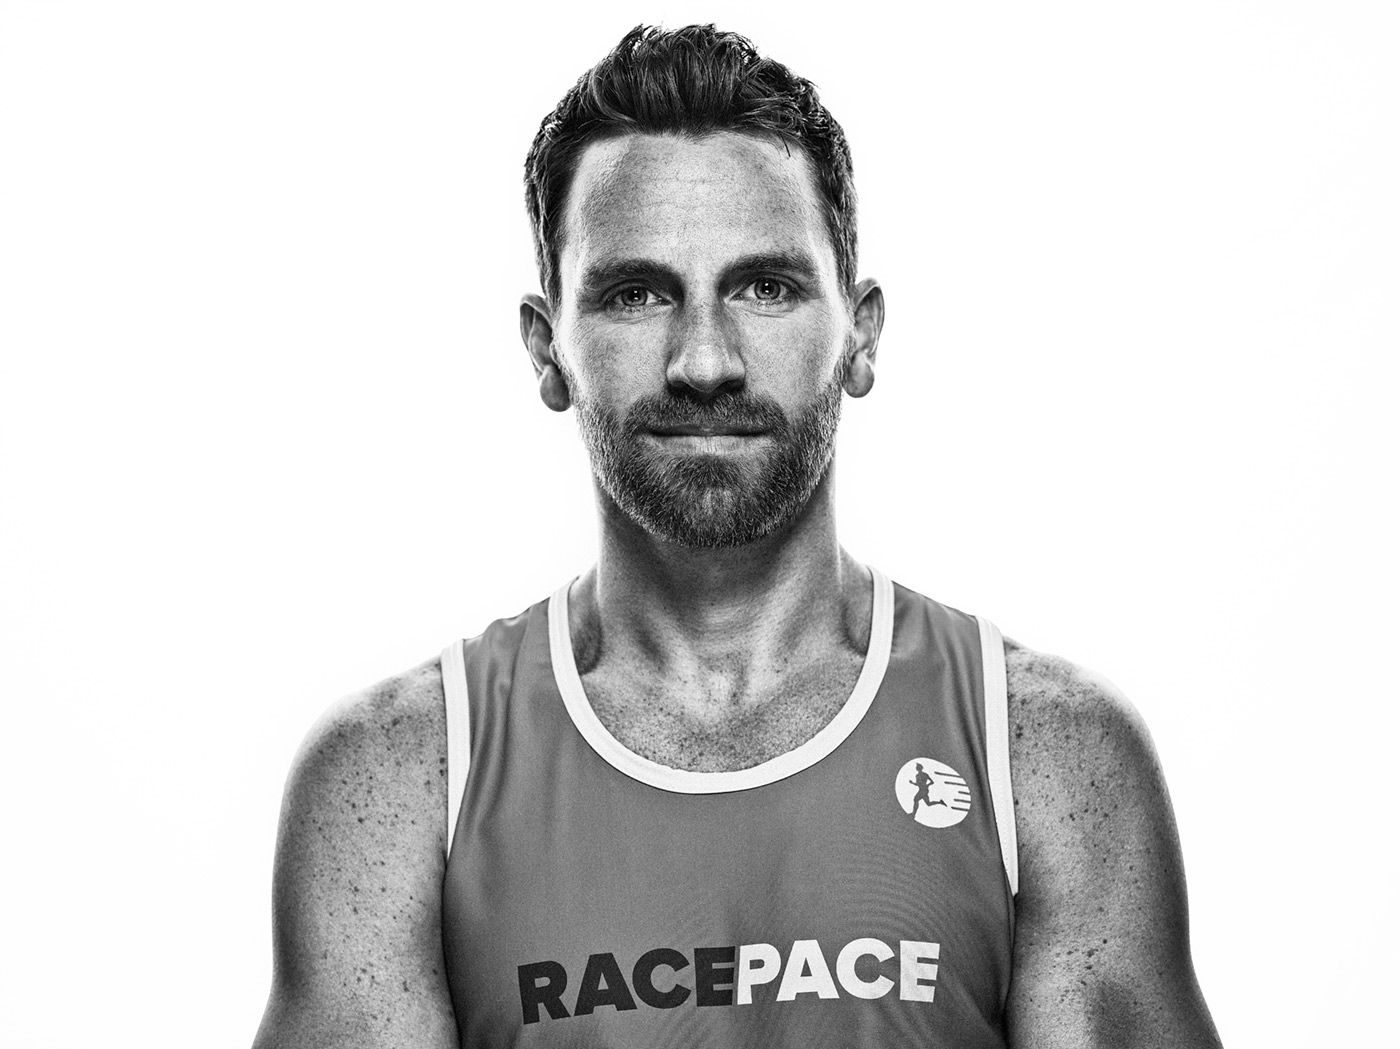
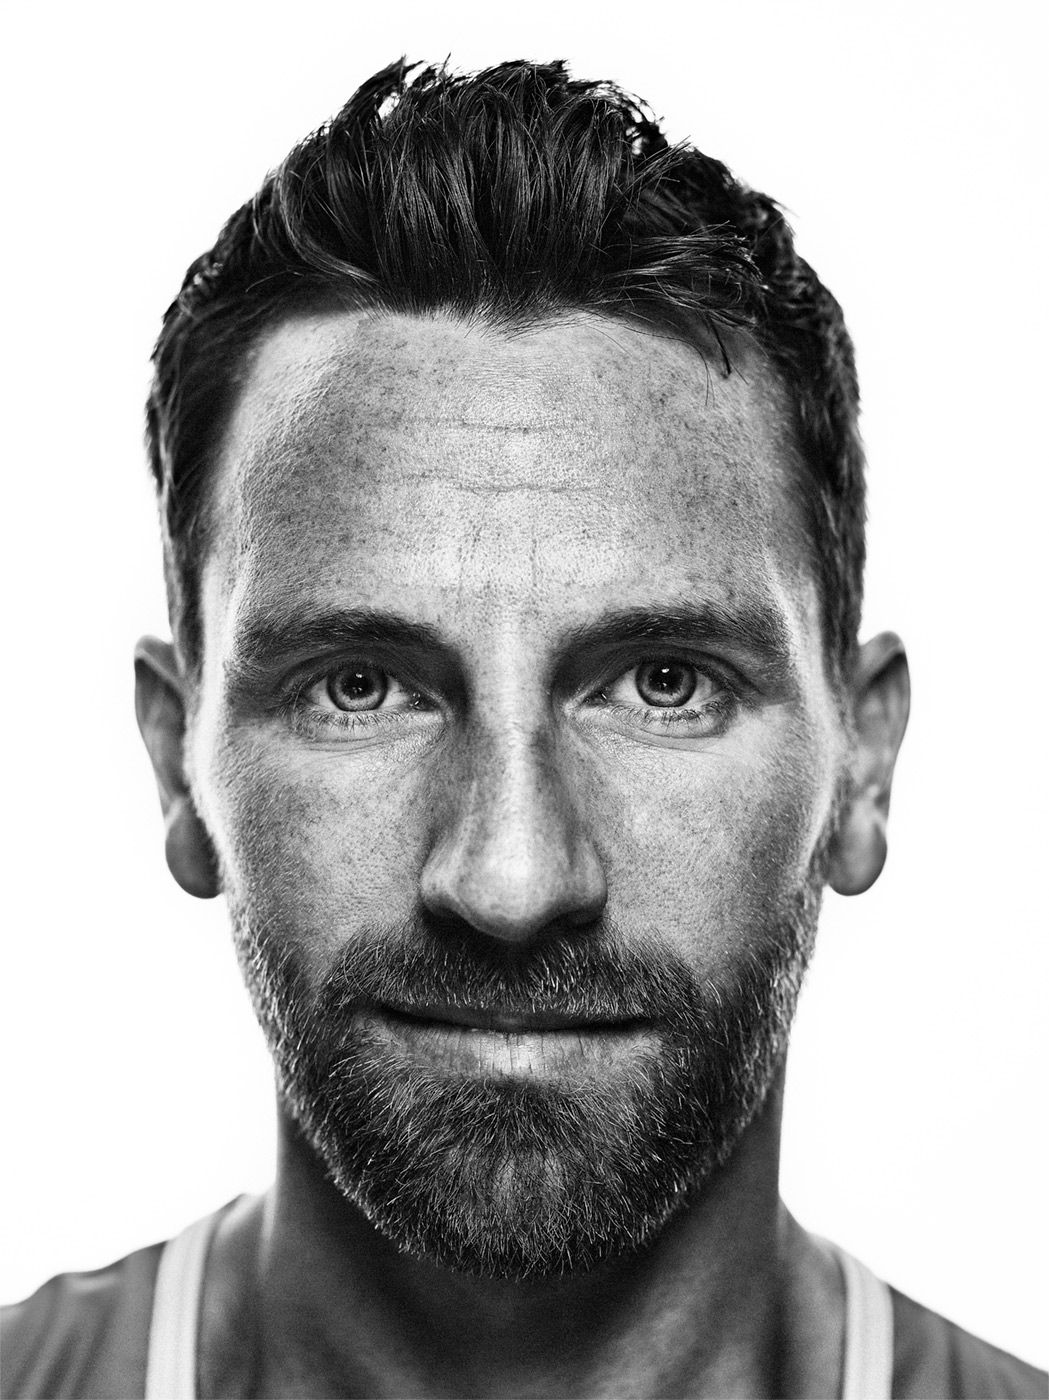
To wrap up, I made a few portraits of Jeff for my Heroes on White project. That setup is pretty well dialed in by now, but I had recently started using the Profoto B2 kit with the OCF Beauty Dish instead of hauling a rigid dish everywhere. The light isn't quite as nice, but it's close.
The behind-the-scenes video, with all three running tips, is below.
The film
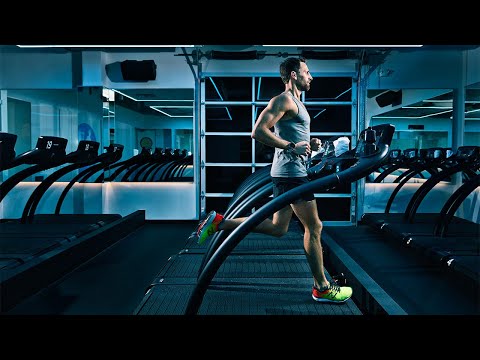 Watch the behind-the-scenes film
Originally published on the Ruddock Visuals blog, January 2018. Lightly edited in 2026.