Lighting the Modern Day Man: Three Setups for 29 Portraits
The story behind a 29-portrait project with lululemon for a KIPP fundraiser, and the three lighting setups I used to shoot it.
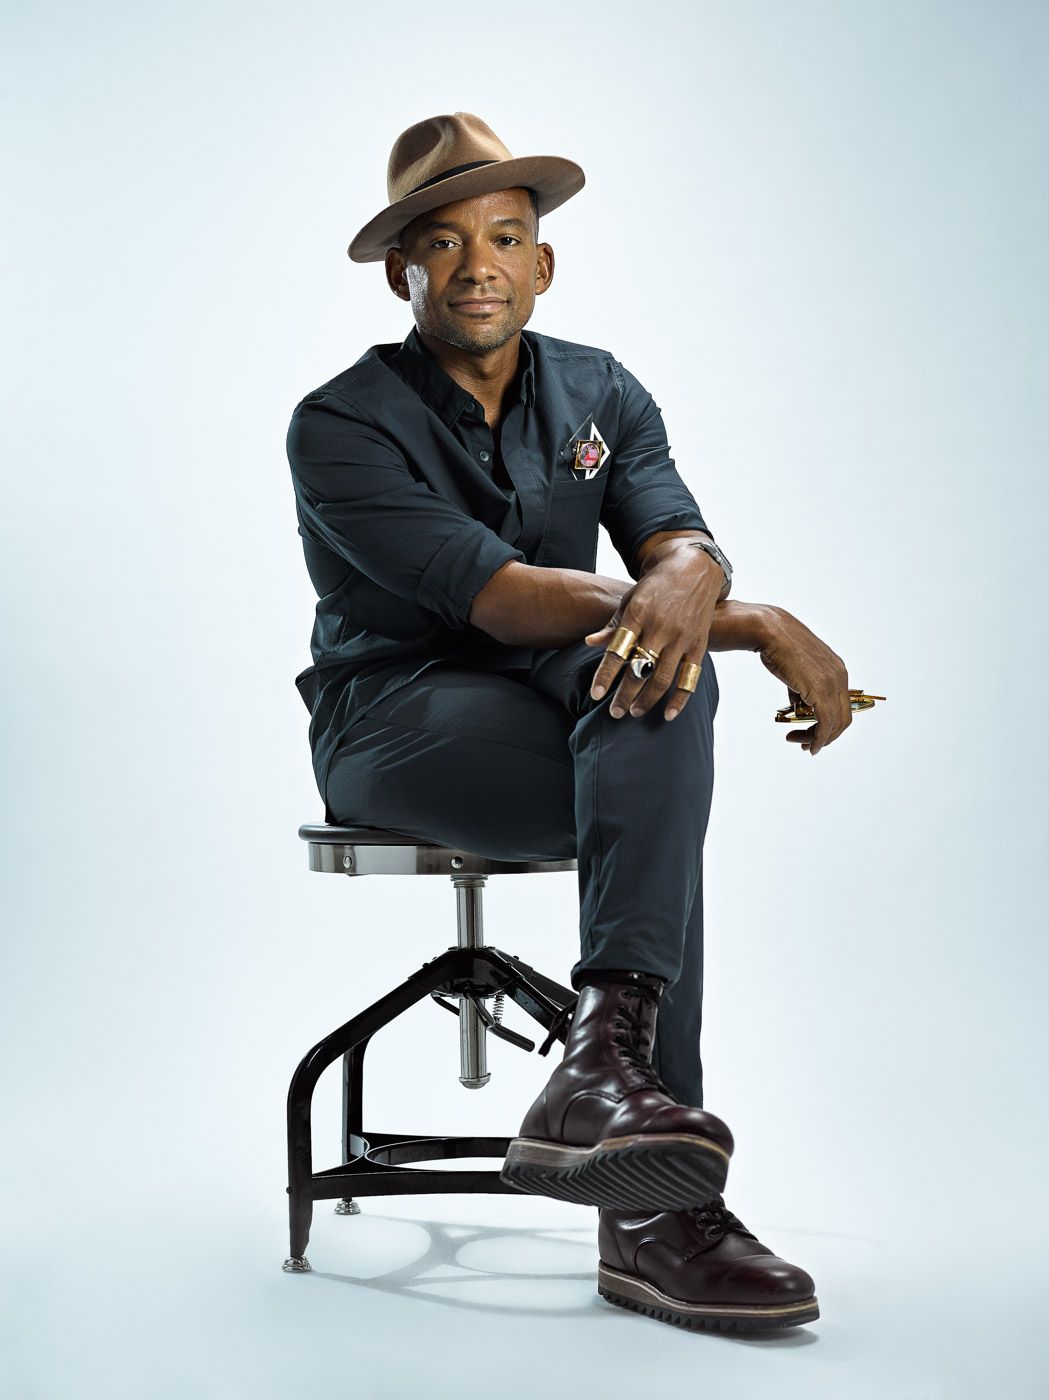
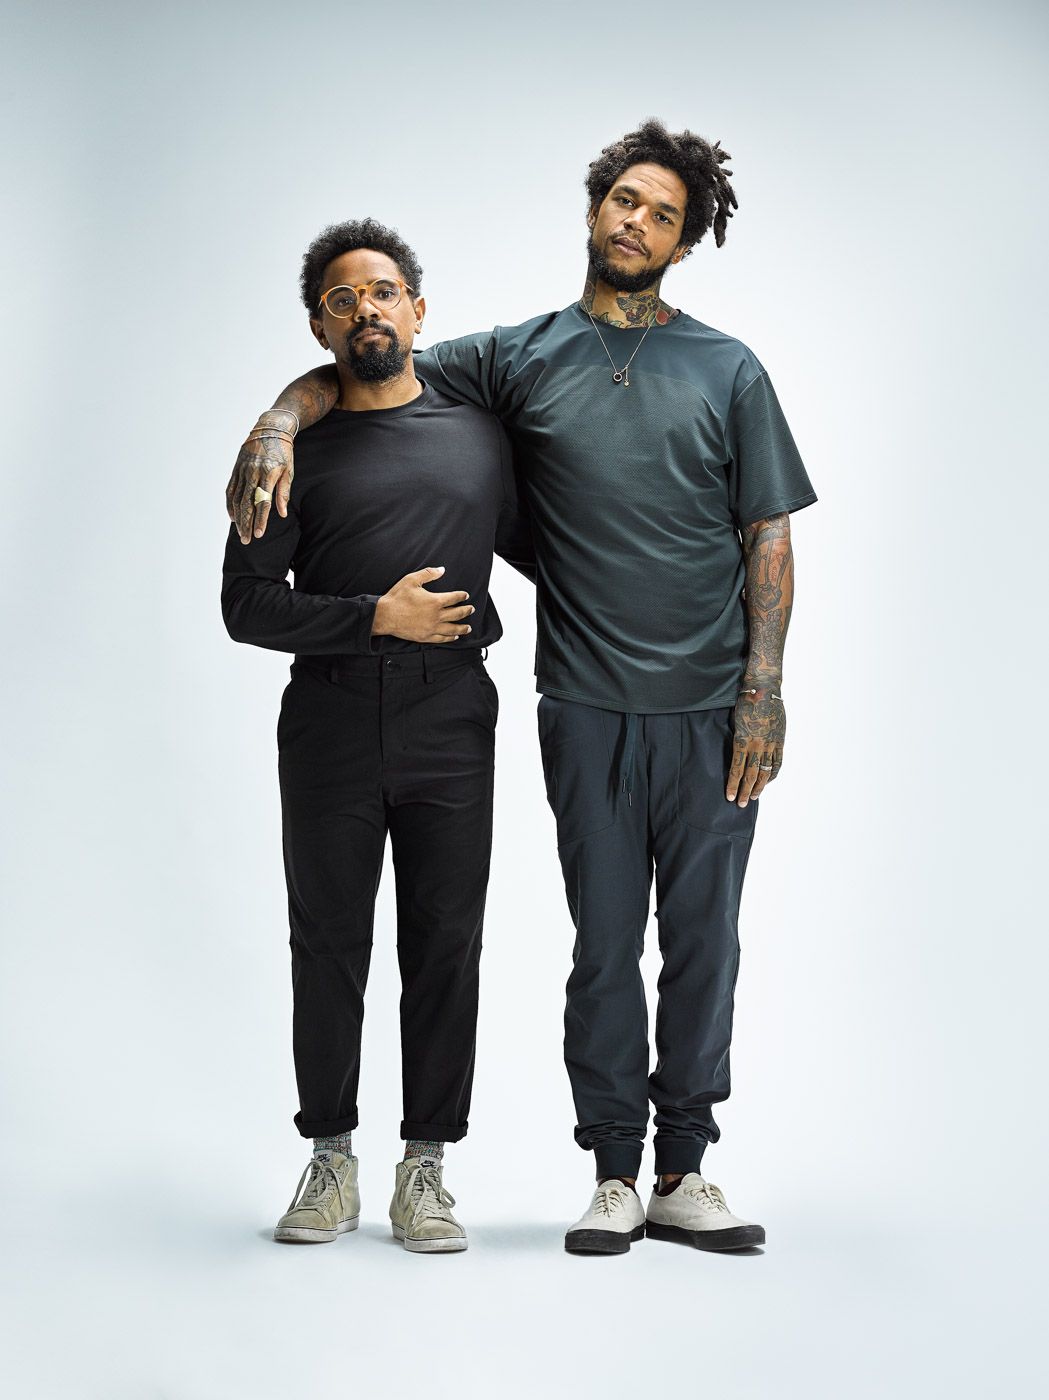
I recently had the privilege of being part of one of the largest projects I've ever worked on. It began as a simple conversation with a local lululemon store at a Whole Foods and ended with a full series of portraits of some of the most inspiring, active men in the Houston community. We then installed those images in two Houston-area galleries to raise funds and awareness for a program sponsored by KIPP.
The project
Modern Day Man was one of my main projects of 2017. Partnering with local lululemon stores, we created a setting to tell the stories of 29 men from the Houston community. These men do so much for others and act as role models for the next generation, not necessarily by following the men before them, but by forging their own path and combining the strength of men past and present with the vulnerability a good man needs today. The project culminated in a one-night gallery showing and a follow-up installation at Silver Street Studios to raise money for the Community Connect program run by the KIPP Foundation.
"The Modern Man doesn't put on armor, he takes it off."
The full project, with the portraits, lives under Projects on this site. Here, I want to walk through how I lit it.
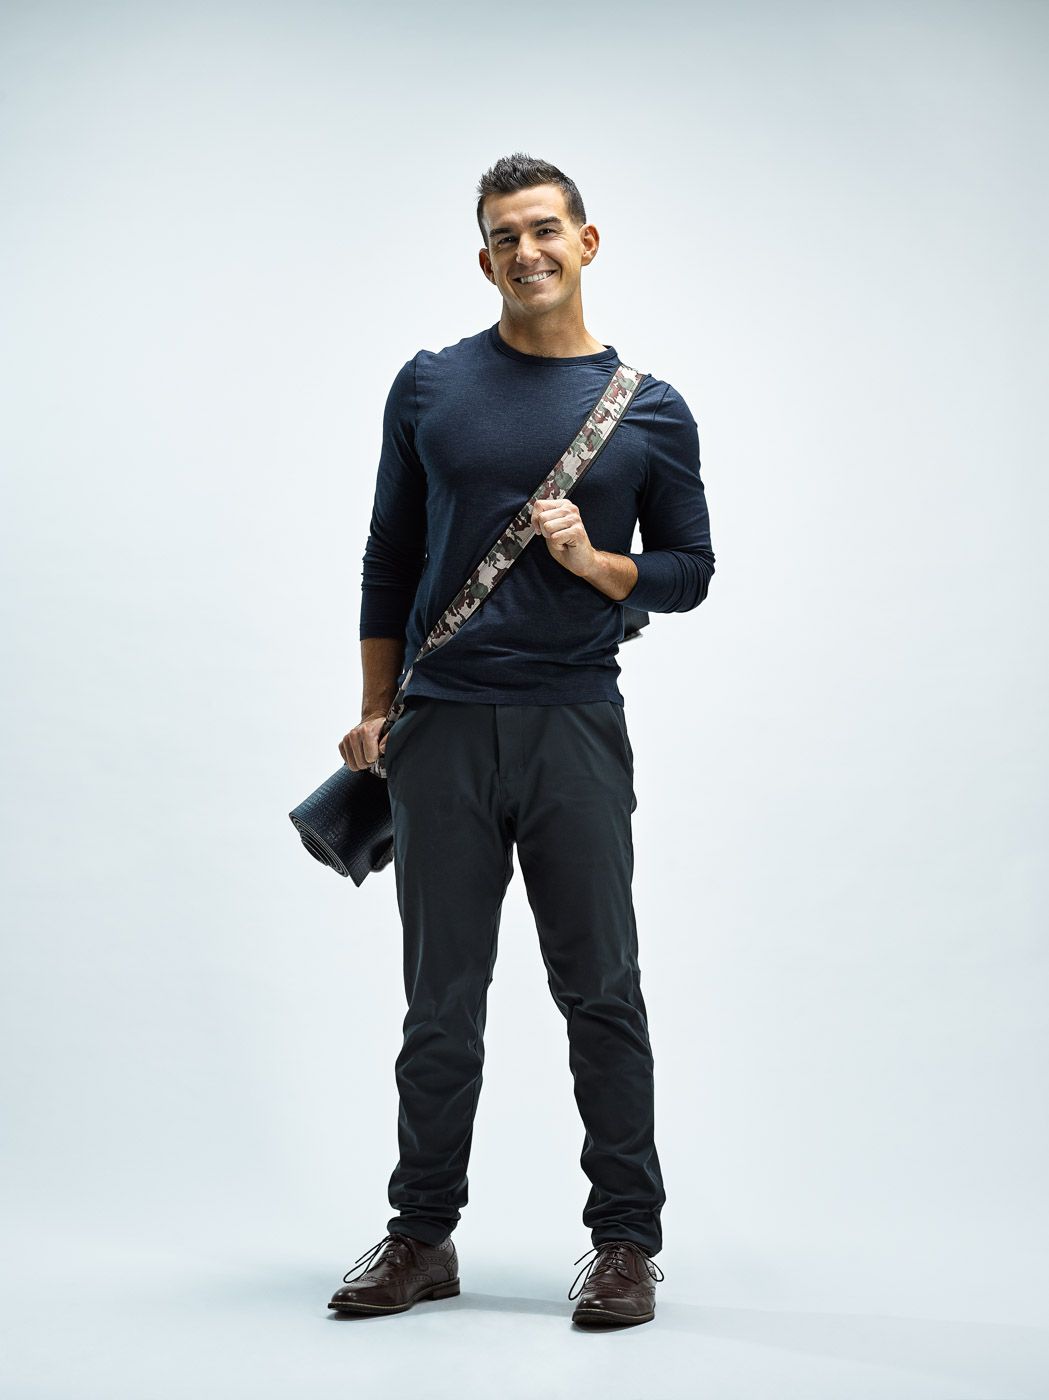
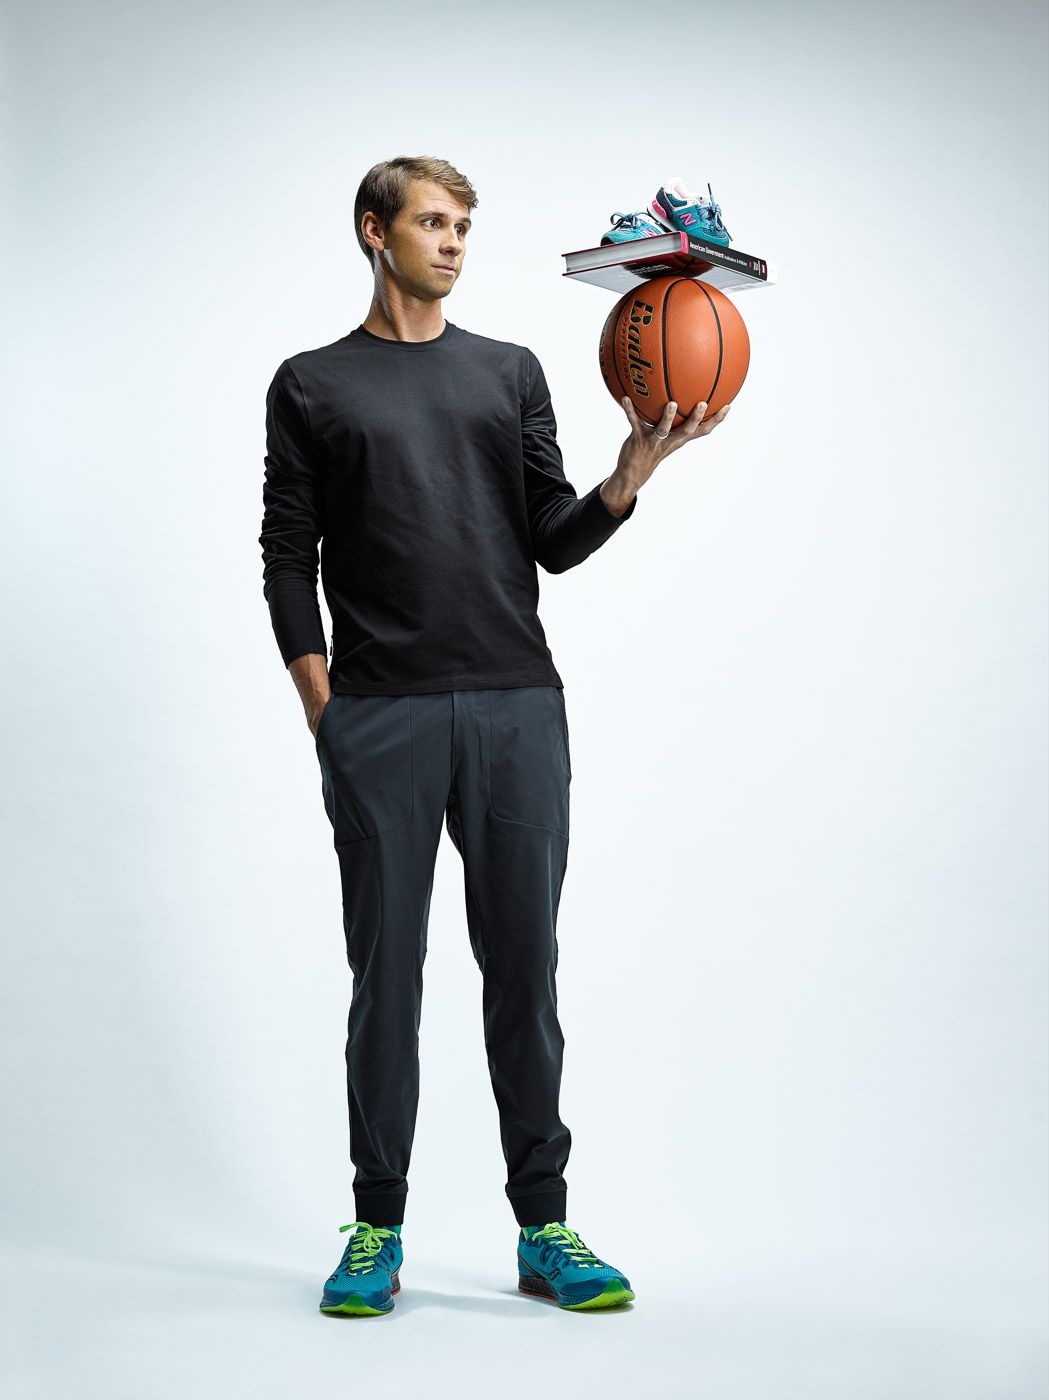
Setup one: the main portrait
The first setup was the main one for the shoot. A large overhead light hit the subject with feathered light from the front edge of the modifier, and also spread most of its light onto the backdrop to keep it as bright as possible without blowing out.
The main light was a gridded strip box to camera left. I used that tighter light to fill the parts of the subject that the overhead left too dark, while the grid controlled the spread and kept some depth and contrast on one side.
Finally, a bare bulb behind the subject added just a little separation on the back of the face and shoulders to carry that depth through the image.
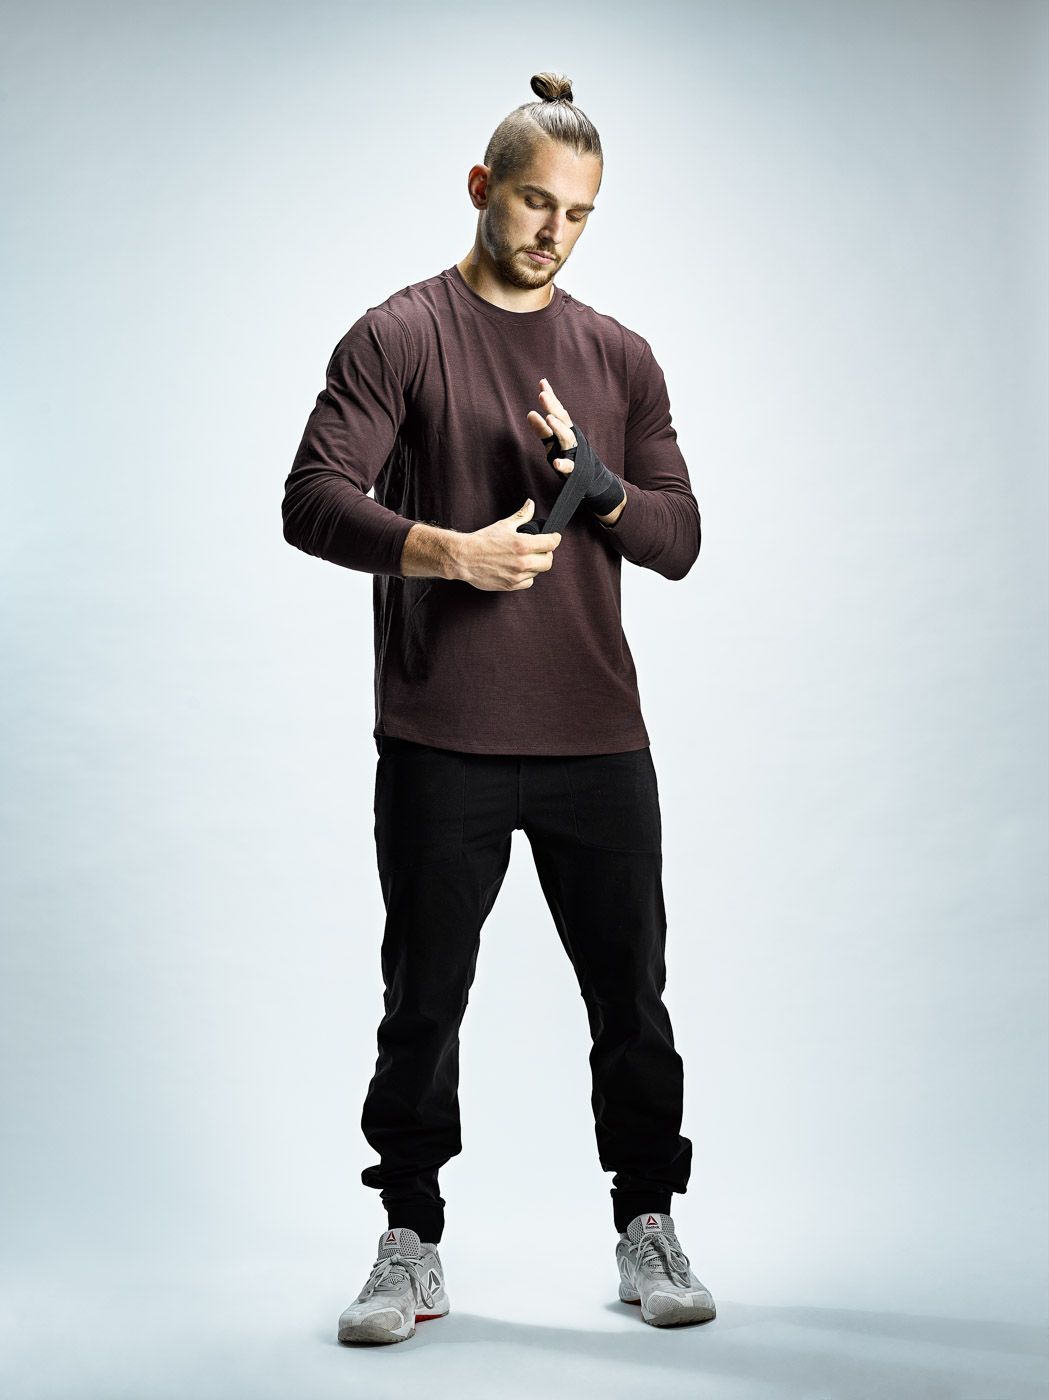
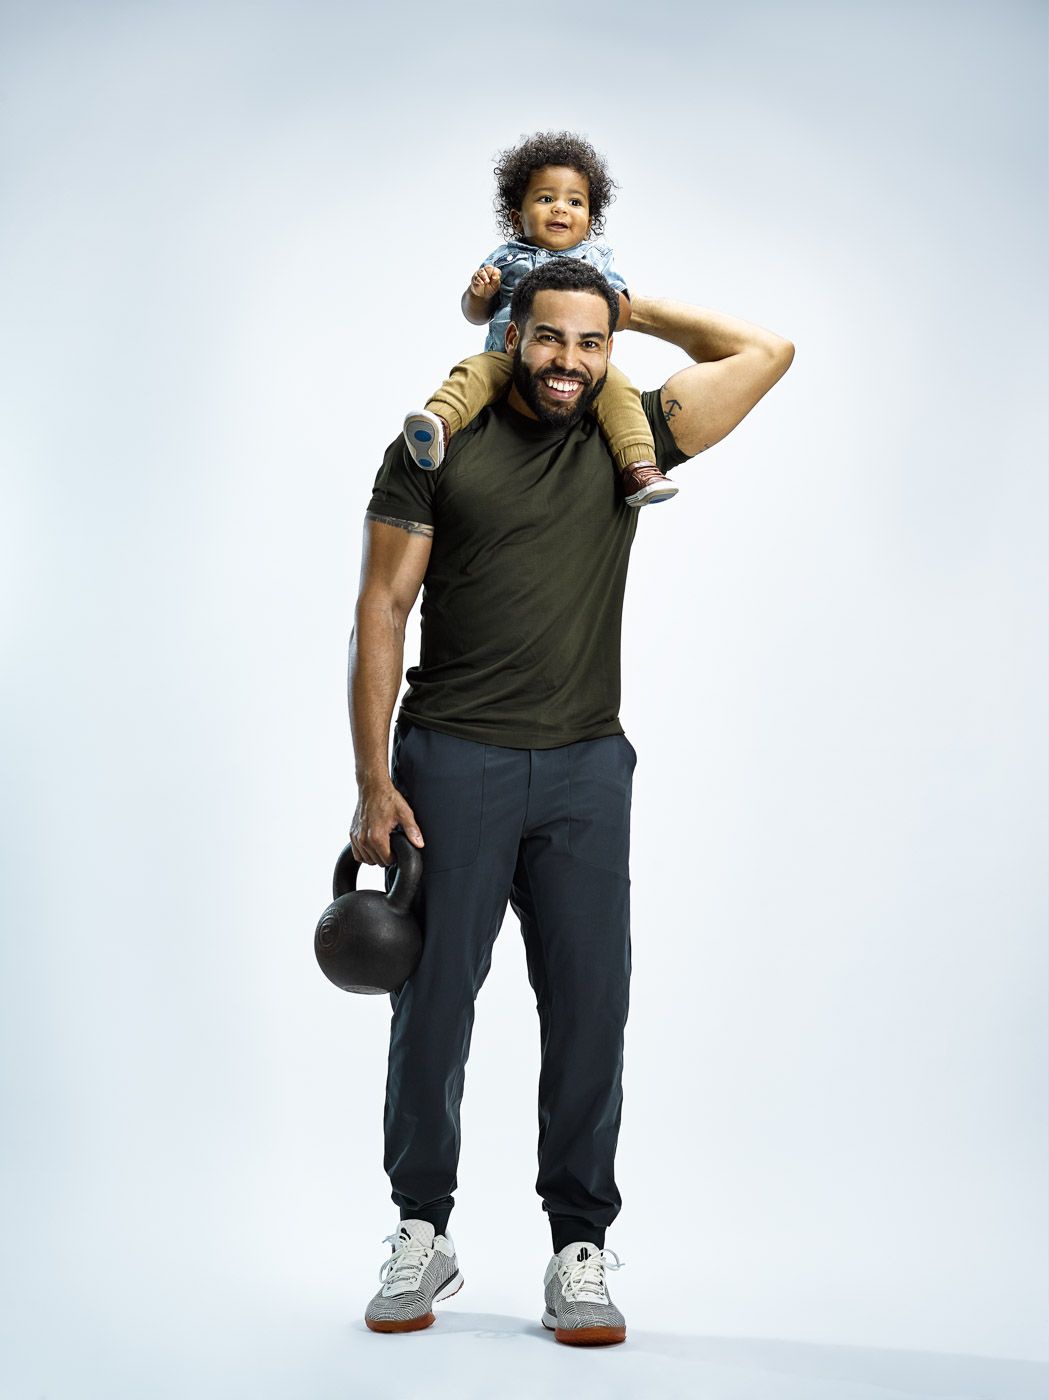
Setup two: Heroes on White
The flip side of the set was the same Heroes on White setup I've used time and again: a clean white backdrop with a contrasty, flattering main light from the front. There was about two stops between the front and back light, but that changes with the look I want and the subject's skin tone.
Setup three: the video
The video setup was very simple, to keep the raw feel of the interviews. I used a Westcott Ice Light high over the subject and almost directly in front of them. The wall was about 3 feet behind them, so the ambient light plus the spill from the video light kept it mostly white and gave a rough but pleasing look.
Plan ahead
One thing I didn't mention, but you can see in the video: for every setup, I shot a gray card to keep white balance consistent, and I shot test frames to make sure we were lit properly before the first man of the day arrived. Putting in that planning ahead of time is a key step in a successful shoot. It frees you to focus on the person in front of you and put your full attention into making a captivating image.
The behind-the-scenes film from the shoot days is below.
The film
 Watch the behind-the-scenes film
Originally published on the Ruddock Visuals blog, February 2018. Lightly edited in 2026.