Planning a Studio Test Shoot, Start to Finish
How I conceived, planned, lit and edited a two-model portrait test shoot at The Houston Studio, from mood boards to a final two-person setup.
Growing, testing and creating are things every photographer should be doing, pushing your skills to a new place. For me, that edge was a completely different style of shoot. I've always drawn my shooting and lighting styles from great portrait photographers rather than great sports and action photographers. I apply them to sports because I love being outside and active, but I wanted to see how I could bring that back into the studio and create simple, strong portraits of models and everyday people. Light is light, but giving an athlete a little direction and letting them do their thing is a different skill set from directing a model, or a person in a chair on a backdrop, and that's what I wanted to improve. Test shoots are the best way to do it, so here's the whole process, from concept to final edit.
Pre-production
I started by looking around online for locations and sending feelers to contacts and friends who might model for some portraits. It all came together when I found The Houston Studio. It had only been open a few months, and what they had built out of a space that sat unused for years was inspiring. It was unlike anything else I'd found in Houston, and scheduling was simple.
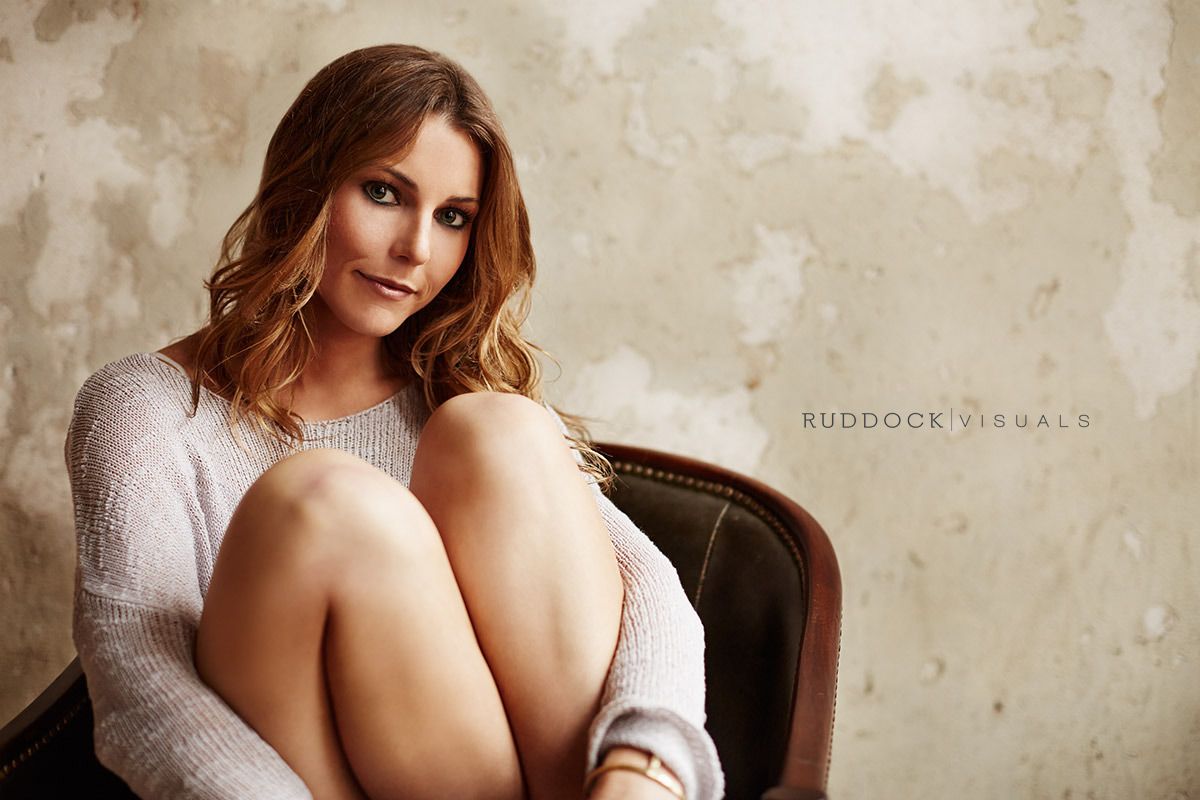
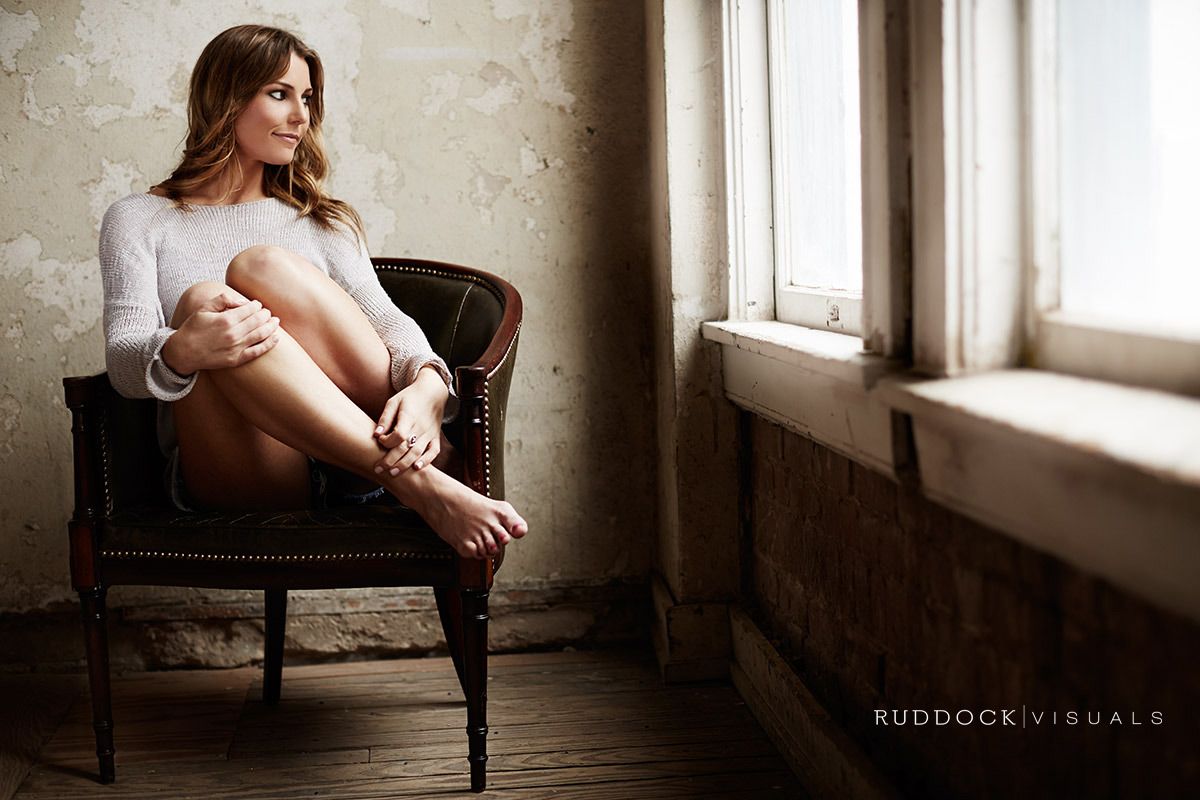
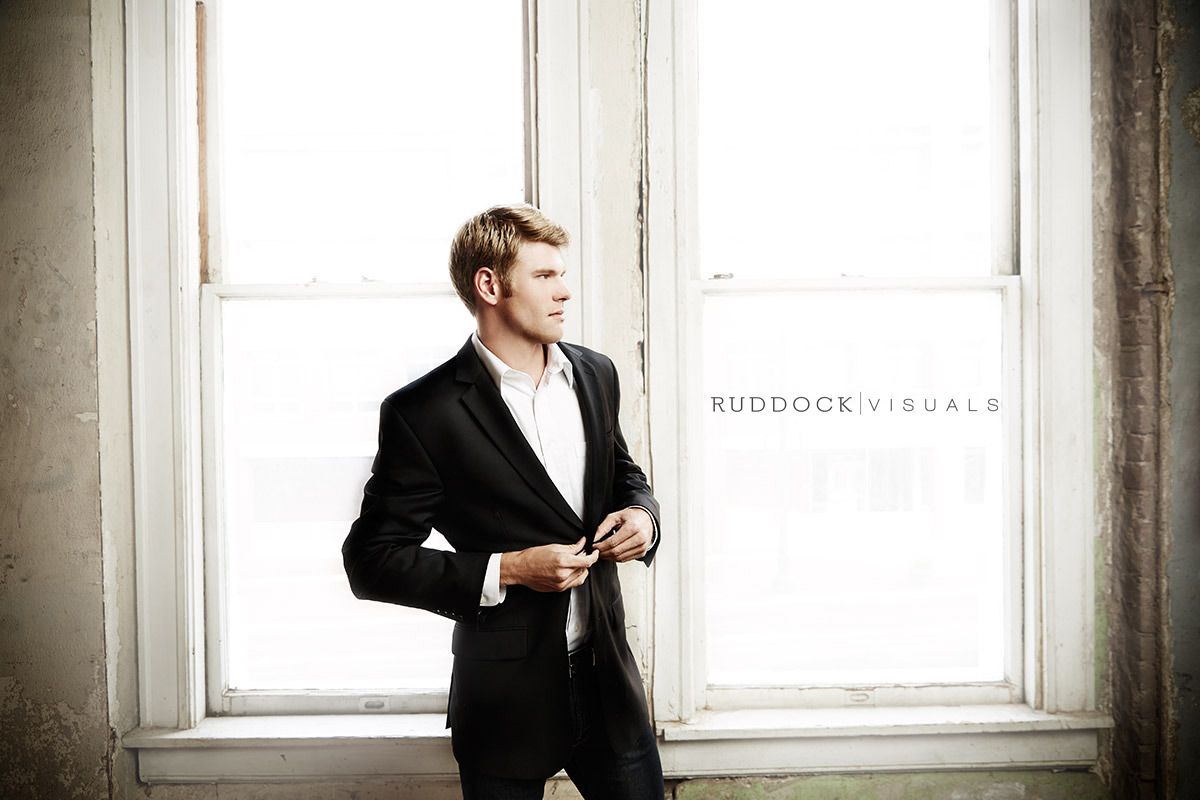
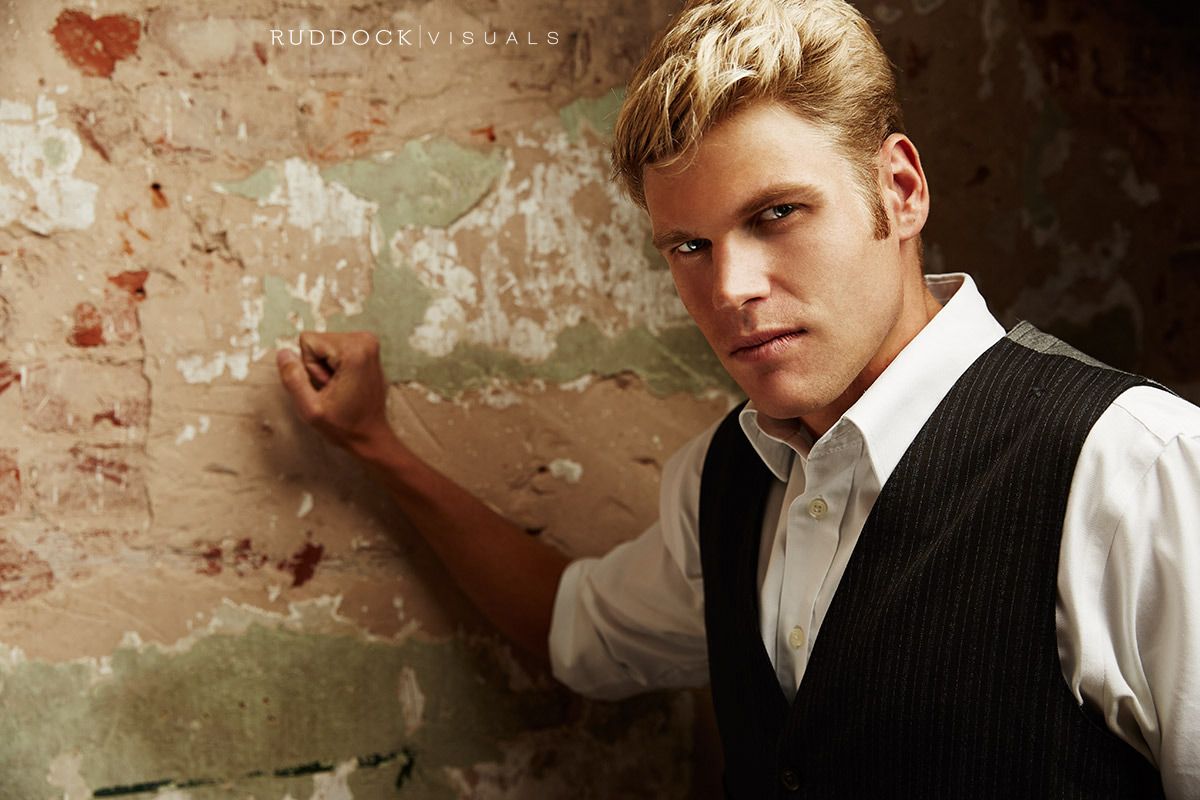
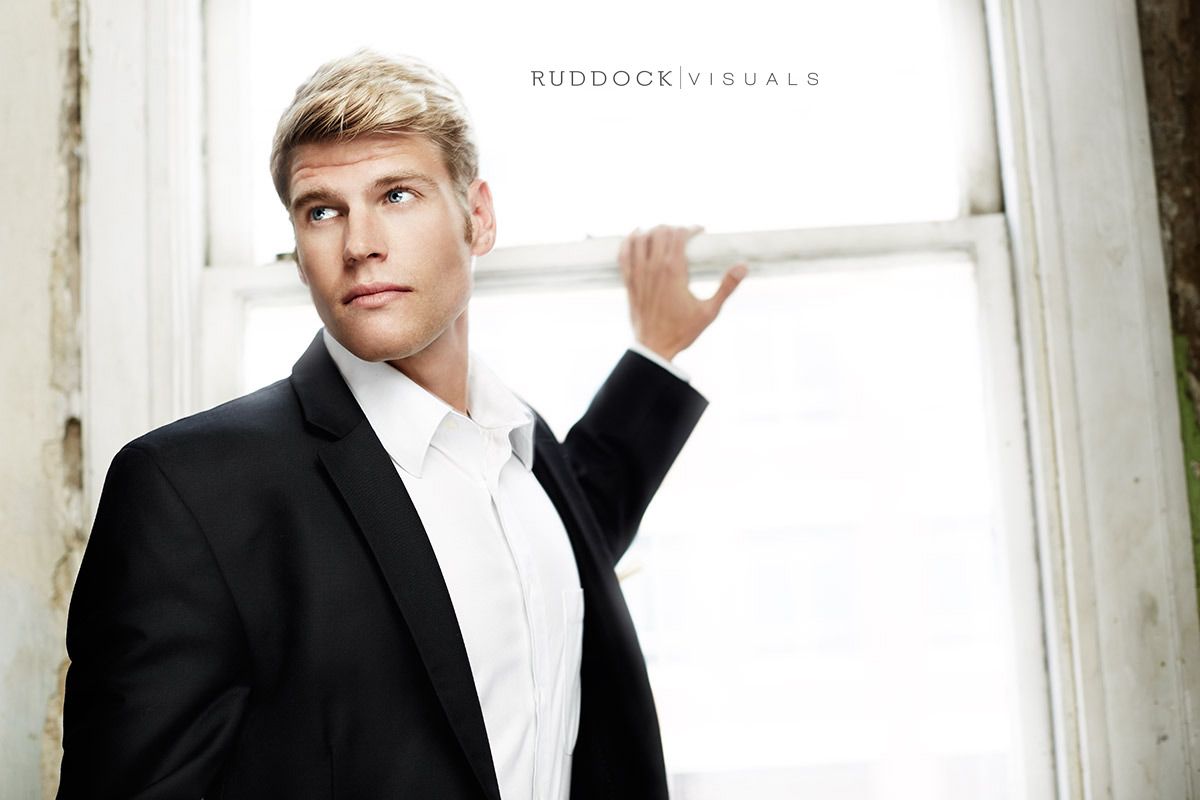
My wife Sam helped me build Pinterest boards to show our models the clothing styles we had in mind. I wanted muted tones and a look that would let me shoot both models together and separately, with their styles going in opposite directions. I'm always inspired by books and shows, and I saw this space with a Suits or Mad Men feel for Jason, our male talent, a professional model whose clean-cut, classic style fit what I was seeing in my head. For Natashia, a friend and our female talent for the day, I wanted to go softer and use the natural window light for a lazy-Sunday atmosphere. A third, dressy-casual outfit paired the two.
Finally, I reached out to our friend and assistant Lain to see if he could give us a hand. The stars aligned and we booked the space on a date that worked for everybody.


Diagram it before you shoot it
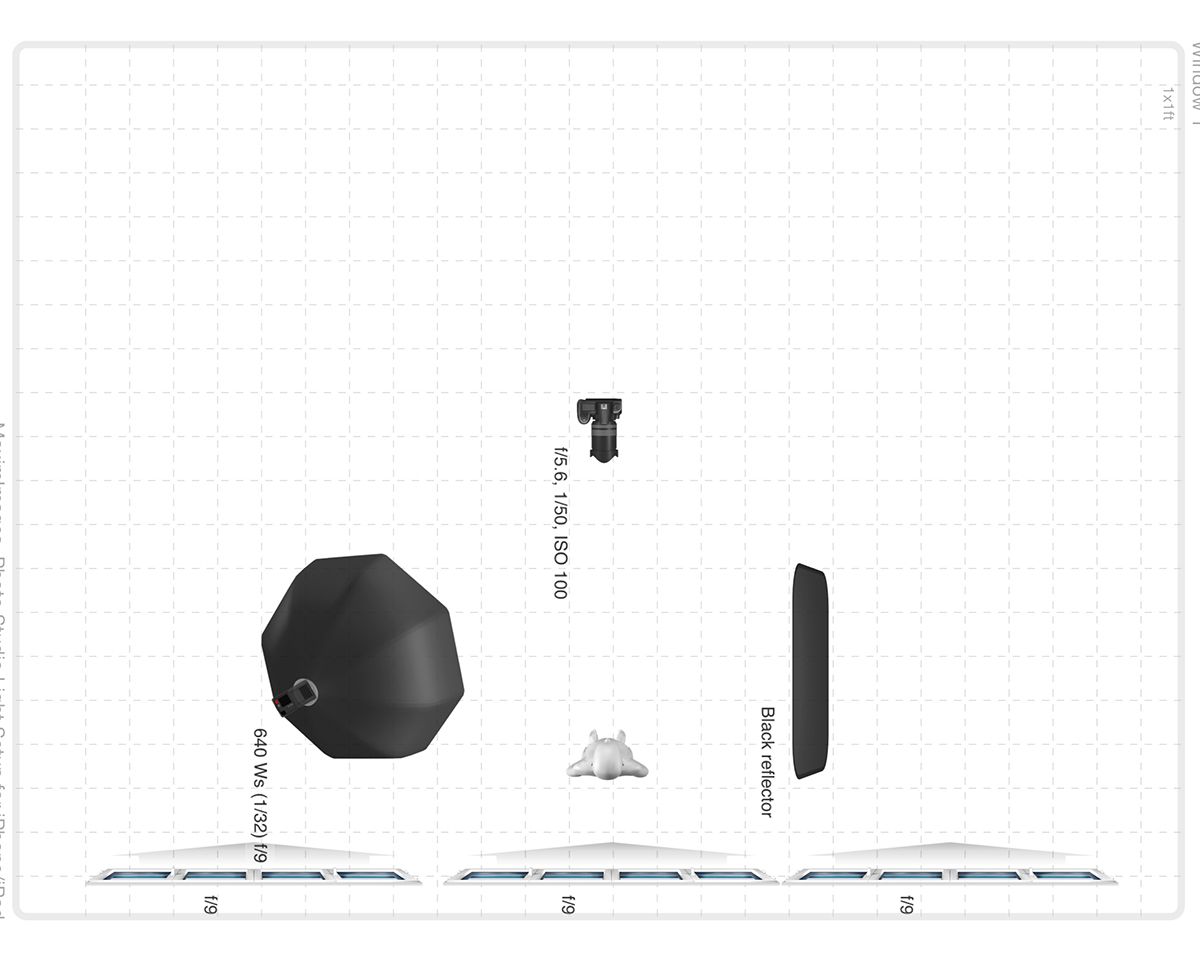
With the plans and date set, the real work on my end began. To make the most of the space and time, I like to create diagrams that show people what's in my head. One problem: I can't draw to save my life, and my stick-figure sketches on earlier shoots probably did more harm than good. So I used the Photo Studio Light Setup app on my iPad to build diagrams with the exact powers, distances and modifiers I had in mind, and showed Sam and Lain precisely what I was planning. From there, it was just directing Jason and Natashia for the mood, feeling and expression that finish an image. I can't say enough about how much this helps everyone on the team run smoothly and see into your mind's eye.
The technical side
- Capture: Canon 5D Mark III tethered into Capture One Pro on a MacBook Pro.
- Lights: two Paul C. Buff Einsteins and two Alien Bees fired with CyberSync triggers.
- Modifiers: a 69" Elinchrom Rotalux octabox, a 39" Rotalux Deep octabox, a standard reflector on a third light as a kicker for the final shot, and Westcott reflectors in several sizes to bounce light into the eyes, fill, or flag as needed.
- Lenses: Canon 50mm f/1.2 and 24-70mm f/2.8 II, with a Lee Filters bellows on the camera to block flare or add it as I wanted. I first saw Joey L use one, and it quickly became indispensable.
I used a Sekonic light meter to get the general lighting I wanted, then dialed it in from there to get the specific look in camera. A light meter will always give you a correct exposure if used correctly, but a correct exposure doesn't always make the most interesting image.
I shot at a variety of apertures through the day, stayed at a low ISO and kept my shutter speed around 1/100 to start, slowing it down or speeding it up depending on the area.
Room A: window light
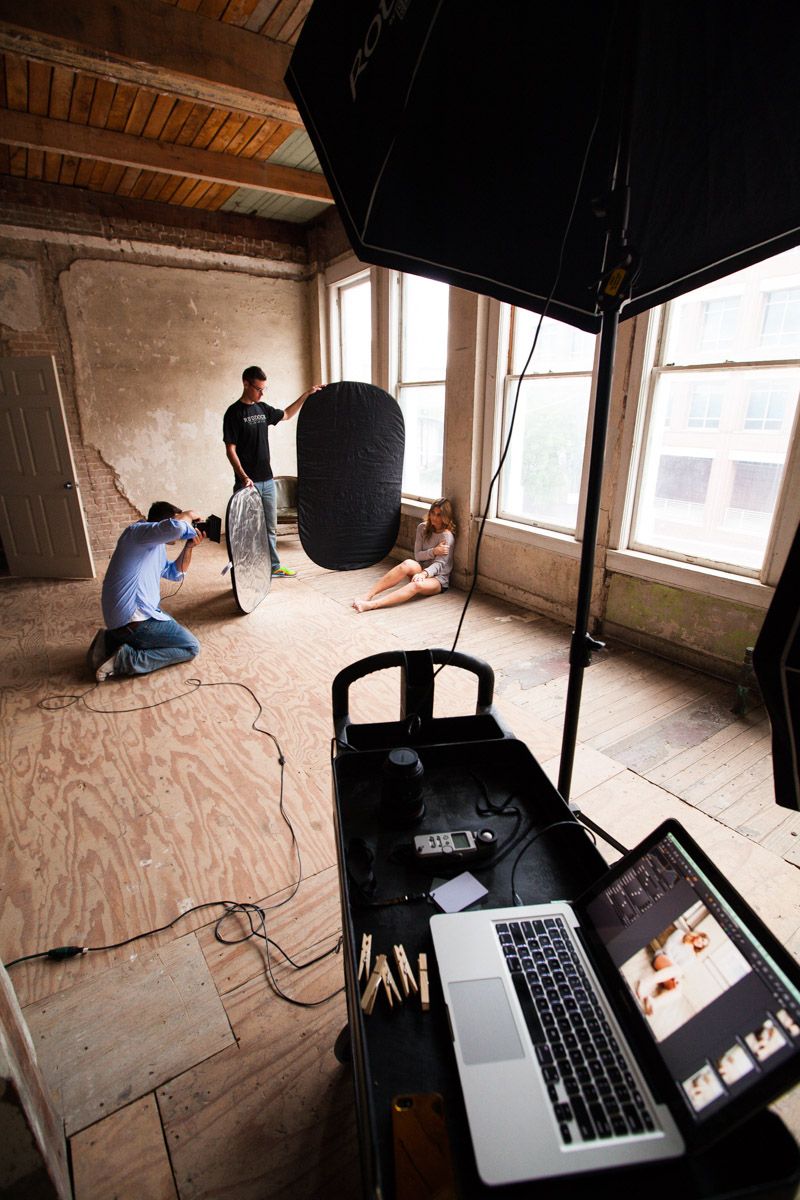
We started with Jason in his suit and tie and Natashia in her dressed-down outfit in the studio's A room. With window light pouring in, Jason was strongly backlit, so I set the 69" Rotalux at about 9 feet, angled down 45 degrees. Lain was my moving flag, keeping up with Jason and me and pulling light from one side for the depth and contrast I like. Jason is a natural and a pro, so it took little direction to get great variations of what I had in mind.
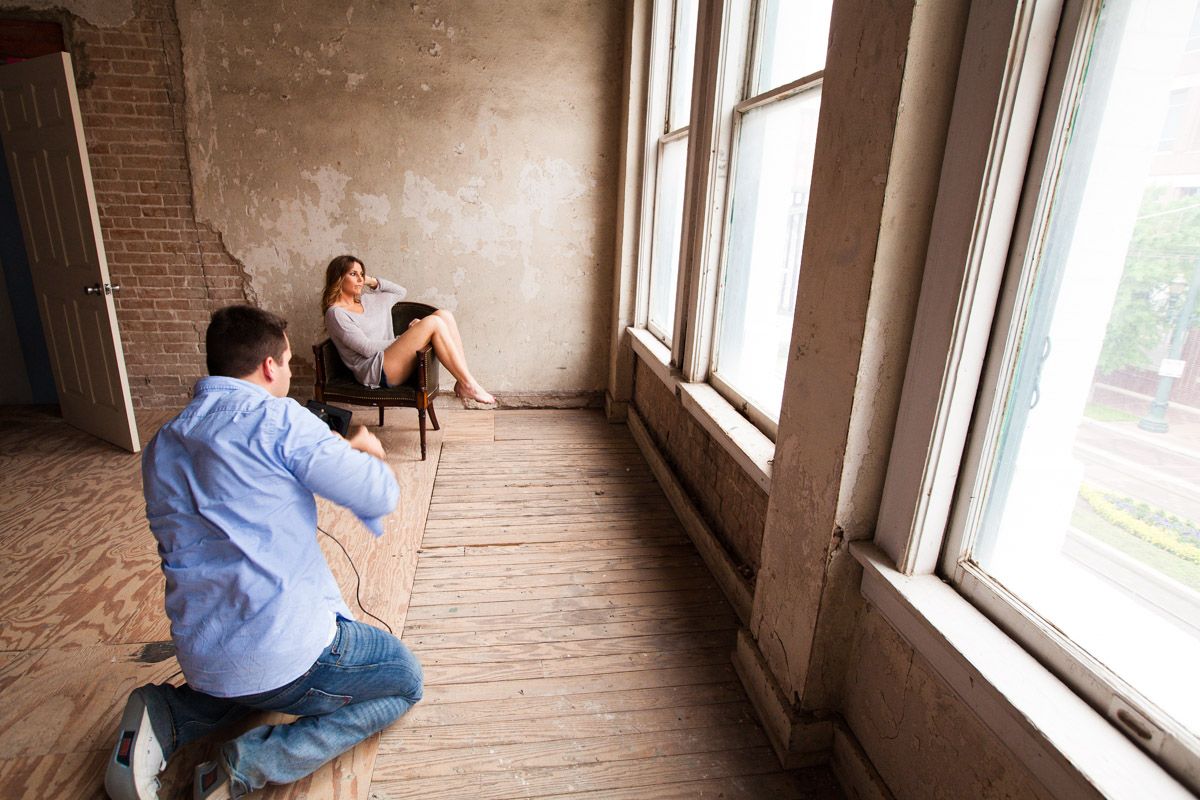
After a couple of long rounds, Natashia was up. We put an old chair in a corner against one of the original walls for depth. No strobes here, just window light with reflectors and flags, before we moved her to the floor and used the same setup as Jason's. I hadn't expected to shoot without lights, but with the south-facing windows, I fell in love with the natural light. It's amazing how hard we sometimes work to replicate window light this perfect.


Room B: the brick wall
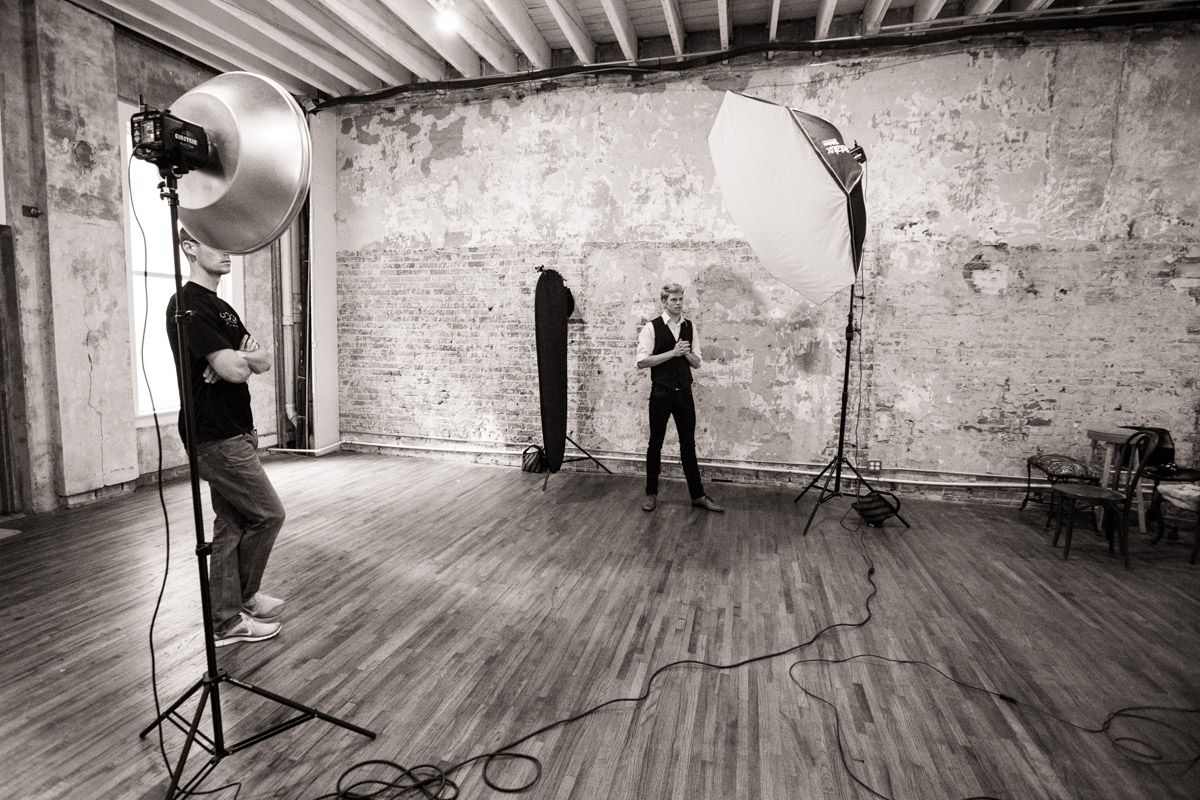
As the window light dimmed, we moved into room B and set up against the brick wall for simple, contrasty portraits in the dressy-casual outfits. The 69" Rotalux was again the main light, about 8 feet high to camera right, angled down 45 degrees and feathered back toward me for softer, more interesting light. Opposite it, a black flag pulled light away on camera left, and a reflector added fill as needed.
Both models were shot with that setup until we brought in a hat for Natashia. I started losing a lot of light under the small brim, so I brought the Rotalux down a bit and added low fill with a silver beauty dish on another light at very low power. Problem solved, and we loved the expressions she gave. No matter how pretty the light is, if your subject isn't having fun and giving you the expressions you want, your images will flop. Find something that puts them at ease, and it will go a long way.

The final setup
The last setup was the one I was most excited about, and the one I was most nervous about. I'd seen the shot in my head for two weeks but had never tried the lighting and wasn't sure it would come together. Natashia sat in a chair looking straight at the camera, and Jason stood behind her, slightly offset, looking off to camera right with his hand on the back of the chair. That gave a connection between the two while keeping a hard shadow across his jawline.
We had only about 30 minutes before tear-down, so the iPad diagram I'd shown everyone earlier saved us a lot of time, and each of us took a task. The 69" octabox lit Natashia, feathered toward the camera and angled down 45 degrees. The 39" deep octa was Jason's main light, placed behind Natashia so it also acted as her hair light. A kicker with a standard reflector on camera left separated them from the background and defined Jason's profile. All we needed was a little reflector bounced into Natashia's eyes, held by Lain. It was amazing how close the result in camera was to what I'd seen in my mind.
Post-production
For me, editing down is always the hardest part. Sam and I went through the images countless times and narrowed them to about 30 we loved. In Capture One I added contrast, sharpened in the native RAW, where there's the most detail, and desaturated slightly. Everything was exported as 16-bit Adobe RGB PSD files to keep as much quality as possible.
In Photoshop I did light skin and hair retouching with a Wacom tablet, which gives me more control and less hand cramping. Then I added curves for tonality and color grading, keeping those layers separate for my own sanity, desaturated with the Channel Mixer set to Monochrome at a lowered opacity, and sharpened for web or print after resizing. Nothing complicated, because we lit the images well and captured them close to finished in camera.
The behind-the-scenes video is below.
The film
 Watch the behind-the-scenes film
Originally published on the Ruddock Visuals blog, May 2014. Lightly edited in 2026.